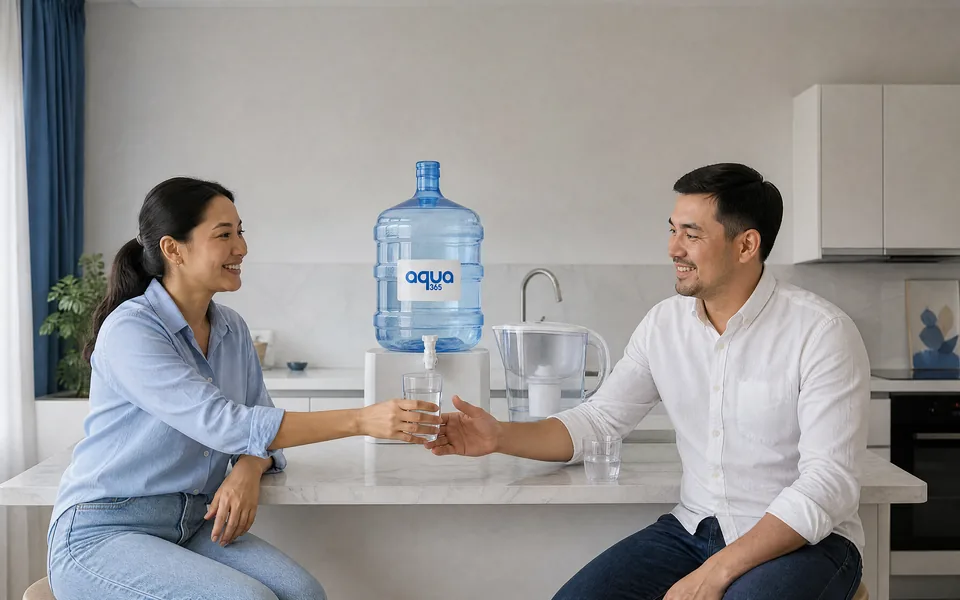






A bottle tap and a cooler tap — one part, two places
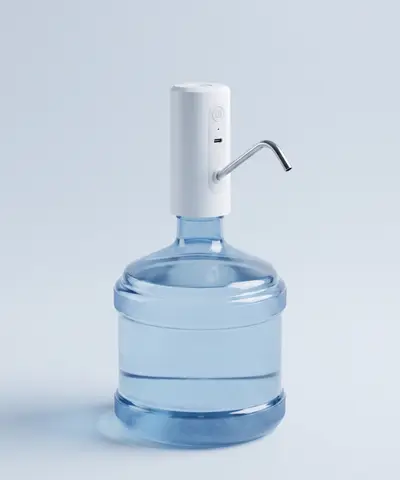
Price lists use the word “dispenser” for two different parts, and the mix-up happens with almost every order. The first is the tap on the appliance body: two buttons or two levers, blue and red. The second is a fitting for the bottle neck that lets you pour water with no appliance at all.
They do the same job: let out a portion of water and shut off so that nothing drips. The only difference is what the part is screwed onto. So when you write to us “I need a dispenser for my cooler”, add one word of detail: has the tap on the appliance broken, or do you want to pour straight from the bottle?
The second part has plenty of everyday names: a tap for a water bottle, a bottle tap, a spout. Behind all these words is the same product.
Price lists keep the confusion going. Both appliance sellers and accessory sellers use one word for them, because for the buyer both parts make the same movement. One clarifying question in the chat sorts it out, and we always ask it — otherwise a person whose cooler is leaking would receive a bottle-neck fitting.
The third case is rarer and therefore more annoying: on some appliances the dispensing unit is not removable at all — the button is on the panel and the valve sits inside the body. Such a tap is not sold as a separate part, and the problem is solved by a service visit, not by buying a small part. You can tell in advance: if there is no nut under the spout and the body cannot be taken apart by hand, there is no point looking for a replacement.
Four types of dispensing unit
The dispensing unit has been reinvented many times, and today four types are found on appliances and on bottles. They differ in the movement that opens them, and this is not a matter of taste: the movement decides whether a child can open the tap and how much water ends up on the floor if someone leans on it.
| Type | How it opens | Where you find it | Weak point |
|---|---|---|---|
| Flag lever | pushed up or to the side | older appliances and budget ranges | easy to catch with an elbow or a glass |
| Push button | pressed with a cup or a palm | most models today | the spring weakens, the button sticks |
| Rotary tap | turned a quarter turn | bottle fittings, household containers | the thread gets overtightened and the body warps |
| Valve with a latch | pressed and latched while filling | bottom loading, water heaters | people forget to release the latch and the water keeps running |
The hot side always differs from the cold one, and not just in the colour of the cap. It has a safety feature: either a second lock you press together with the lever, or a shutter that blocks access. In a home with children, this is the one part of the dispensing unit that decides the choice of the whole appliance.
People ask more and more about touchless taps with a sensor. They exist, and in a public place they make sense: nobody touches the appliance with their hands. At home and in a small office they lose to a simple button — the sensor needs power, reacts to anything in its field and pours its own portion rather than yours.
The portion differs between the four types, and in the kitchen you notice it. A lever and a button pour while held; a rotary tap stays open by itself; a latched valve pours until switched off. The first two forgive inattention, the other two do not: a tap left open empties the tank onto the floor, and this usually happens once, after which people stop using the latch altogether.
There is also an everyday detail nobody thinks about in the shop: what you actually press with. A button is easy to push with the edge of a cup, so your hand never touches the tap — good for hygiene and bad for the button, because ceramic knocks against plastic. In this sense a lever is more honest: you take it with your fingers, and wear happens where it should.
The bottle tap: how it holds and why it starts to leak
The design is almost embarrassingly simple: a threaded body, a spring-loaded stem and a silicone gasket that does all the work. The gasket presses against the seat and holds the water back, the spring returns the stem. Everything that breaks in this unit is the gasket.
Hence the three reasons a tap starts to drip. First, the gasket has hardened with age or from hot water. Second, a crumb of limescale or a grain of sand has got under it, and the seat no longer closes. Third, the fixing nut was overtightened during installation, the body warped and the seal sits at an angle.
Such a joint is only ever tightened by hand: until it touches the gasket, plus a small extra turn. A spanner, pliers and “all the way” are out of the question here — the plastic thread is not designed for leverage, and an overtightened body cracks not the same day but a month later, usually at night and usually with a full tank.
The fix goes in reverse order: first loosen it and retighten by hand, then take it off and rinse it, and only then replace the part. Putting a glass under a dripping tap and waiting for it to stop by itself is not worth it: the water goes into the drip tray, and sooner or later the drip tray overflows onto the floor.
What it is made of and what difference that makes
The body is made of food-grade plastic, the stem of the same plastic or of stainless steel, the seal of silicone or rubber. The combination sets both the price and how the part copes with hot water.
- A plastic body with a steel stem is the working majority: inexpensive and lasts for years if you do not overtighten the nut.
- A silicone seal handles hot water better than rubber and does not give the water a taste; rubber hardens faster and is the first to let water through.
- An all-steel tap is fitted to water heaters and catering appliances: pricier and heavier, but it fears neither boiling water nor disinfection.
- Clear plastic looks nice but does not last: in the light it turns cloudy and cracks along the thread, and a deposit in it only shows once there is a lot of it.
- The flexible silicone hose on fittings is a consumable in itself: within a couple of years it yellows and loses its softness.
There is one detail descriptions never mention — the thread and its pitch. Each manufacturer has its own, and that is exactly why a part from someone else’s appliance almost never fits yours. What matters is the seat diameter, the stem length and the shape of the seat, and such things cannot be matched blindly.
The second thing nobody mentions is the temperature limit. Water from the hot tank comes out at nearly 90 degrees, and a cheap seal lasts months at that temperature, not years. That is why the hot tap is replaced on average twice as often as the cold one, and that is normal wear, not a faulty batch.
A spare part in the drawer costs less than a technician’s visit and saves you a day without water. The logic is the same as with light bulbs: the dispensing unit is the appliance’s only consumable, and you will not know in advance when it starts to leak. That is why offices buy the second part straight away, together with the first replacement.
A water pump with a tap: when the dispensing unit is a separate device
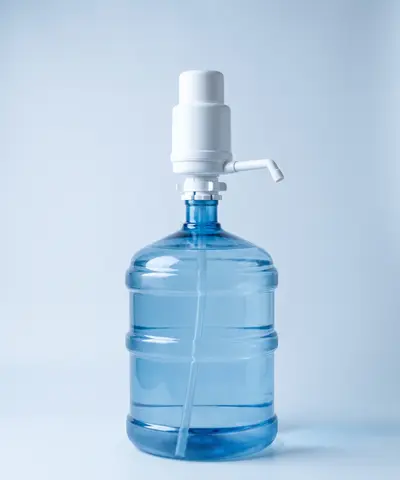
If there is no appliance at all, the tap comes together with a fitting for the bottle neck. A water pump with a tap works like this: the tube goes down to the bottom of the bottle, the water is drawn by pressing the top or a button, and it comes out through the same kind of spout with a gasket. The mechanical one costs 45 000 UZS, the automatic one 85 000 UZS.
The difference between a fitting with a spout and one without is how the hose ends. Without a spout, the flow is stopped by lifting the hose or pinching it with a clip, and that works only as long as someone remembers to do it. A spout with a gasket does the same thing by itself and therefore wears out: that is the price of not having to think about where the hose is every time.
A separate word on a search that comes up more often than the product itself. A water pump with cooling is an almost mythical thing: water can only be chilled by a compressor or a Peltier element, and those need a housing, a radiator and a socket. All of that together is called a cooler. A fitting on the bottle neck gives no cold and cannot, and a seller who promises otherwise is selling you hope.
You can still get cold water without an appliance, just another way. Keep the full bottle somewhere cool rather than by a radiator or in the sun; pour a litre or a litre and a half into a jug and put it in the fridge; add ice to the glass in summer. It is all dull and it works, unlike a fitting that promises cooling.
Pouring height, drip tray and stability
The tap decides how the water comes out. Where it stands is up to you, and that matters more than it seems until the first week is over.
A bottle on the floor keeps the spout a hand’s height off the ground: you crouch to hold a glass under it, and a saucepan will not fit under it at all. A stand or a low cabinet lifts the neck to knee or table height, and pouring becomes an ordinary movement rather than an exercise. The stand costs 150 000 UZS and pays for itself the first evening someone makes soup.
- A level floor: a water bottle on an uneven surface rocks, and the tap drips at every touch.
- Twenty centimetres of free space in front of the spout — otherwise neither a jug nor a saucepan will fit under it.
- A tray with a rim under the spout: drips are inevitable, so let them collect in one place.
- Not by a radiator or in direct sunlight: warm water spoils faster, and plastic turns cloudy.
- Not in a walkway: people kick the bottle, and one day that ends with a spout torn off.
The drip tray deserves a word of its own. On appliances it is built in and holds about a litre, while a bottle with a fitting has none at all — a kitchen towel that nobody changes plays the part of the drip tray. A tray with a rim solves two problems at once: you can see how much has dripped, and you know when it is time to check the seal.
And about children. A spout at knee height is within reach of a child of any age — that is both a convenience and a reason not to put hot water at that height. Bottle fittings do not dispense hot water at all, and that is where their safety lies.
A separate word on a spare bottle nearby. A full bottle next to the one you pour from saves a trip to the storeroom, but it takes up the very twenty centimetres you need in front of the spout. The rule is simple: keep the spare to the side or behind, and leave the space in front of the tap empty — that is where the work happens.
Tap hygiene: the only part people touch with their hands
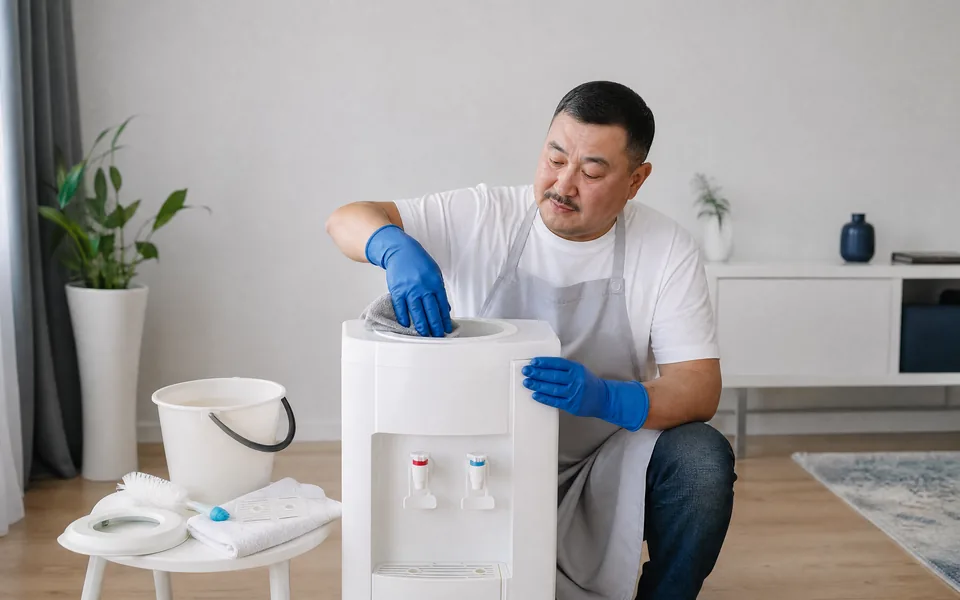
The water in the tank is protected, but the tap sticks out, and hands, glasses and dust all reach it. It is on and under the tap that a deposit most often grows, which is later blamed on the water quality. Once a week wipe the outside of the spout; once a month take it off and rinse it in warm water with baking soda, without abrasives or bleach.
Two rules that save money later. Do not press a cup right up against the tap — the rim of the glass rubs the spout and chips its edge. And put nothing in the tank but water: tea, fruit drinks and lemon leave a film on the gasket that cold water will not wash off.
A short word on cleaning products. Warm water and baking soda clean off everything that grows on the dispensing unit in a month. Abrasive powders scratch the seat, and afterwards the part starts leaking where it used to hold; chlorine-based products dry out the silicone and leave a taste that takes a week to get rid of. Vinegar is fine against limescale, but afterwards the part is flushed through with water, not just rinsed.
You check the dispensing unit with your finger: run it along the inner edge of the spout. A slippery deposit is biofilm, and it grows on everyone’s taps regardless of water quality, because it is warm, damp and there is air. There is nothing alarming about it appearing; the only bad thing is leaving it for months. Baking soda once a month, and the matter is closed.
There is a second place where hands and water meet — the neck of a reusable bottle held under the tap. It touches the spout more often than any glass and gets washed less. If you have one such bottle that goes everywhere with you all day, wash it daily, or the tap will have nothing to do with the problem.
Replacing the tap: what to remove, what to show and what to order
The thread on appliance taps is close to standard but not identical: the diameter, stem length and seat shape vary between ranges. So the order is: shut off the appliance, drain the rest through the second tap, unscrew the part by hand and photograph it next to a ruler. From a photo the part is matched in a minute; blindly, almost never.
As a separate spare part a tap is inexpensive, and in this sense water with a dispenser is cheaper than it seems: the appliance lasts for years, and its only consumable turns out to be one plastic part. Replacing it whole is usually easier than hunting for a separate gasket of the right diameter.
The part lasts differently, and the calendar has nothing to do with it. The cold side lasts for years, the hot side noticeably less, and what decides it is not age but how it was treated: a nut overtightened during installation kills the body in a month, and a habit of pressing the glass right up against it chips the spout edge in a season.
You replace the part yourself, and no tools are needed: a cloth, a bowl and ten minutes. A technician is called in two cases — when the unit is not removable and when it is not the tap leaking but the tank behind it. You can tell the second by water appearing while the tap is closed and the drip tray is dry.
Before you buy: what to measure and what not to buy
There is almost always one mistake when buying: the part is chosen by the appliance name rather than by its dimensions. Then come the messages with the seller, a return and a second purchase that costs more than the first.
- Shut off the appliance and drain the rest through the second tap.
- Unscrew the part by hand; there is usually a plastic ring under the nut — do not lose it.
- Measure the seat diameter, the stem length and how far the spout sticks out.
- Photograph the part next to a ruler, from both sides.
- Send the photo and the three numbers to the chat — with them a replacement is matched in a minute.
| Sign | Usual cause | What to do |
|---|---|---|
| Drips after closing | a crumb of limescale under the seal | remove, rinse, refit |
| Still drips after rinsing | the seal has hardened | replace the whole part |
| Leaks along the thread, not from the spout | the nut was overtightened, the body warped | loosen and retighten by hand |
| The button sticks | the spring has lost its travel | replace the whole part |
| The water comes out in a thin stream | the spout is clogged with deposit | rinse in warm water with baking soda |
| A new part tastes of plastic | it was not flushed after installation | run off two or three litres and do not drink the first portions |
And a short list of what is not worth buying. A part without a sealing ring in the box: there will be nothing to fit it with. A listing that says “universal, fits all” without a single dimension in the description — fittings for a standard bottle neck can be universal, appliance taps cannot. And the cheapest listing with someone else’s photo: the dispensing unit is inexpensive anyway, the saving here is measured in small change, and the price you pay is a puddle under the appliance.
It is worth noting the replacement date where you note your water orders. The dispensing unit gives no warning and does not break on schedule, but knowing that the last part lasted a year and a half, you buy the next one calmly and in advance, not on the day the floor under the appliance is wet.
A water bottle with a tap: a ready-made set
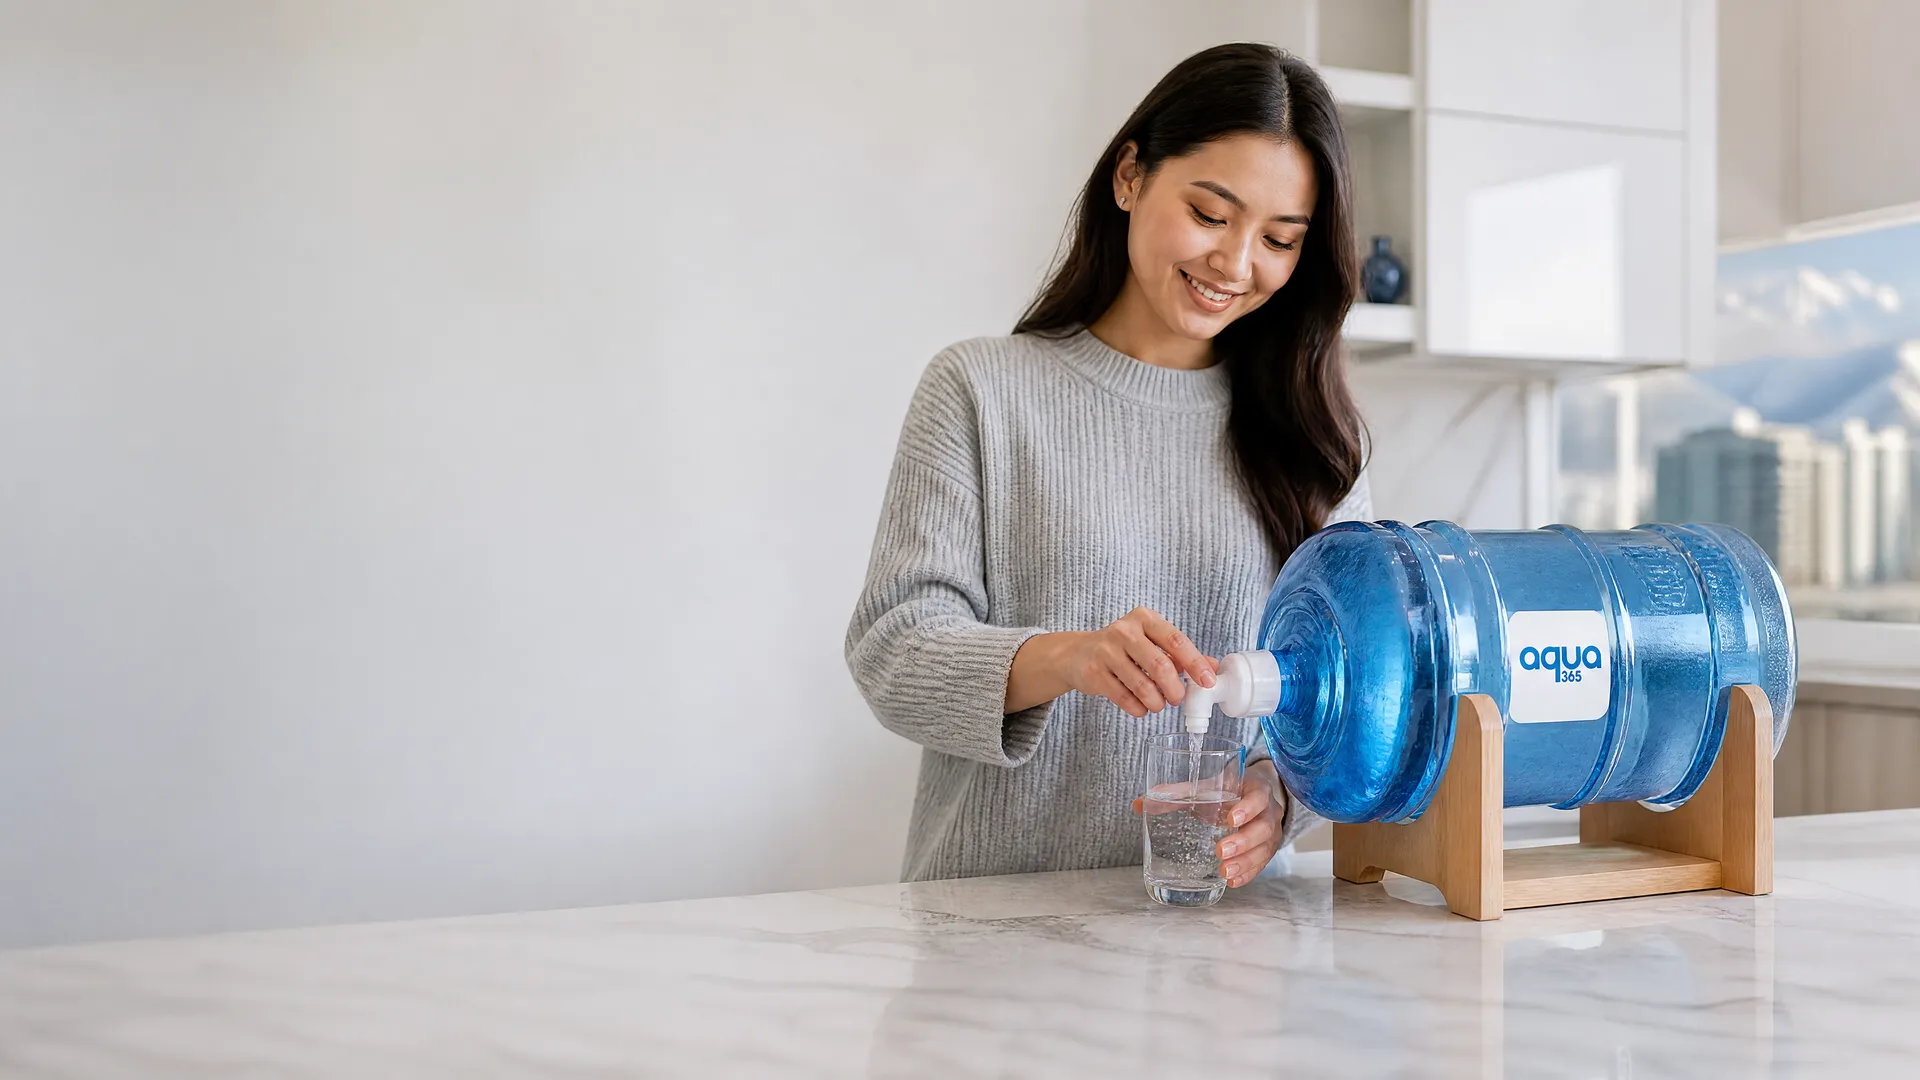
The shortest way to water without an appliance looks like this: a bottle, a fitting with a tap and a stand that raises the neck to glass height. A water bottle with a dispenser in this form takes up a corner of the kitchen and needs neither a socket nor any maintenance beyond rinsing the spout.
The set is put together once and then looks after itself: the courier swaps the bottle, the fitting moves from bottle to bottle, the stand stays where it is. The only running cost is the water, the only maintenance is rinsing the spout once a month. For a kitchen where cold water is not a must, that is the whole kit.
We bring all of this in one run together with the water: delivery across the city is free from 2 bottles, an order placed before 10:00 usually goes out the same day, the delivery windows are 9–13, 13–17, 17–21, and there is one day off: Sunday. Message us on WhatsApp with what you have now, and we will tell you whether you need a spare part or a separate fitting.